Getting Started with DocFX, .Net Solution, Powershell and Github Pages
This tutorial is based on how I generate this Github Pages website, in (https://github.com/emiliano84/Yugen.Toolkit.Docs) and generate documentation for (https://github.com/emiliano84/Yugen.Toolkit) projects
Step1. Setup DocFX
- Download docfx.zip from (https://github.com/dotnet/docfx/releases)
- Let's assume our visual studio solution is in
C:\Dev\Yugen.Toolkit\ - Create a new folder for the docs in
C:\Dev\Yugen.Toolkit.Docs\ - Unzip
docfx.ziptoC:\Dev\Yugen.Toolkit.Docs\docfx\ - So now our folder layout is:
  |- C:\Dev\
  |   |- Yugen.Toolkit.Docs\
  |   |    |- docfx\
  |   |- Yugen.Toolkit\
Step2. Init a DocFX project
- Start powershell under
C:\Dev\Yugen.Toolkit.Docs\ - Call
.\docfx\docfx.exe init -q -o ./.inithelps generates a default project.docfx.jsonis the configuration filedocfxuses to generate documentation.-qoption means generating the project quietly using default values, you can also try.\docfx\docfx.exe initand follow the instructions to provide your own settings.-o ./option means generating the project in the current folder.
- So now our folder layout is:
  |- C:\Dev\
  |   |- Yugen.Toolkit.Docs\
  |   |    |- docfx\
  |   |    |- api\
  |   |    |- apidoc\
  |   |    |- articles\
  |   |    |- imges\
  |   |    |- src\
  |   |    |- docfx.json
  |   |    |- toc.yml
  |   |    |- index.yml
  |   |- Yugen.Toolkit\
Step3. Build our website (GitHub Psges ready)
So now our docfx.json file is:
  ...
  "overwrite": [
      {
        "files": [
          "apidoc/**.md"
        ],
        "exclude": [
          "obj/**",
          "_site/**"
        ]
      }
    ],
  "dest": "_site",
  ...
We're going to change te dest parameter fron _site to docs, this is where the static website is generated, in this way can be easily deployed to Github Pages
  ...
  "overwrite": [
  {
    "files": [
      "apidoc/**.md"
    ],
    "exclude": [
      "obj/**",
      "docs/**"
    ]
  }
  ],
  "dest": "docs",
  ...
Run command .\docfx\docfx.exe docfx.json, a new subfolder docs is generated.
The generated static website can be published to GitHub pages, Azure websites, or your own hosting services without any further changes.
Step4. Preview our website
You can also run command .\docfx\docfx.exe serve docs to preview the website locally.
If port 8080 is not in use, docfx will host docs under http://localhost:8080. If 8080 is in use, you can use .\docfx\docfx.exe serve docs -p <port> to change the port to be used by docfx.
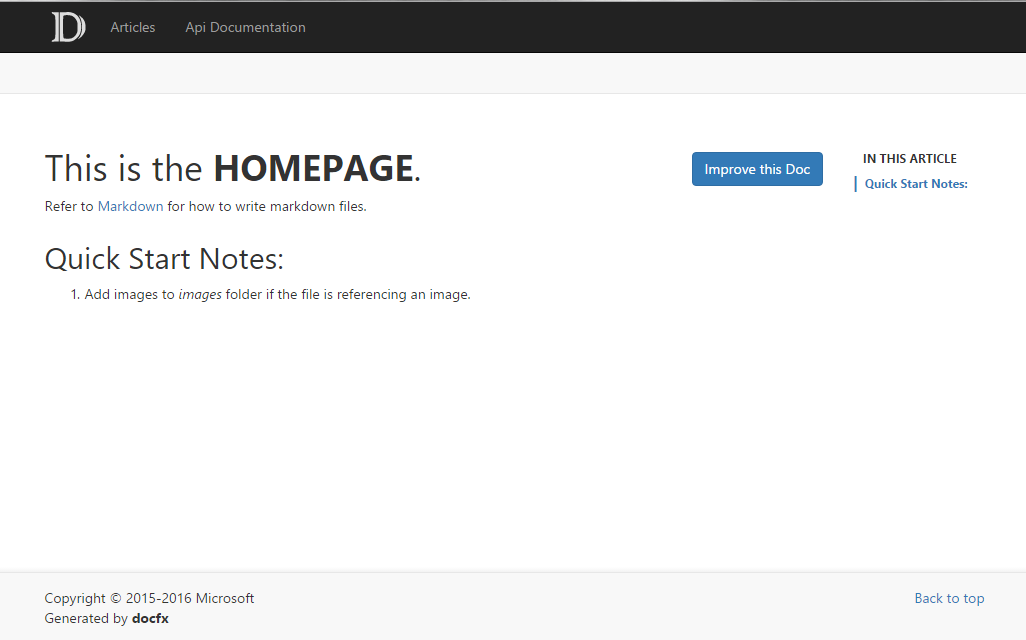
Congrats! You can now see a simple website similar to:
Step5. Add a set of articles to the website
Place more
.mdfiles intoarticles, e.g.,gettingStarted.md. If the files reference any resources, put those resources into theimagesfolder.In order to organize these articles, we add these files into
toc.ymlunderarticlessubfolder. The content oftoc.ymlis as below:
  - name: Getting Started
    href: gettingStarted.md
So now our folder layout is:
  |- ...
  |- articles\
  |   |- gettingStarted.md
  |   |- toc.yml
  |- images\
  |   |- logo.png
  |- ...
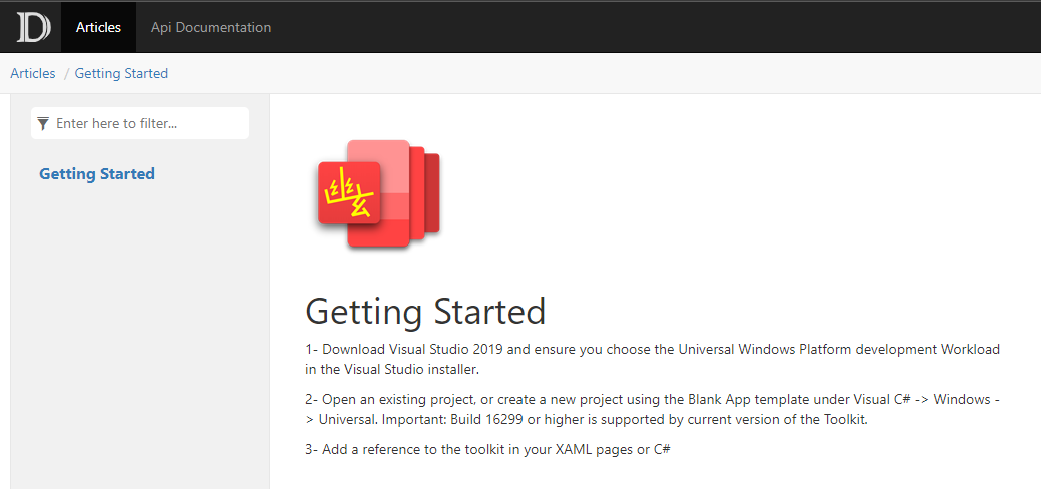
Congrats! Now if you run command .\docfx\docfx.exe docfx.json, than .\docfx\docfx.exe serve docs and navigate to http://localhost:8080/articles/gettingStarted.html, you can now see a page similar to:
- If you want, create a subdirectory into
articles, e.g.,walkthroughs, Place more.mdfiles intowalkthroughs, e.g.,docfx-github-actions.md,nuget-github-actions.md. In order to organize these articles, we add these files intotoc.ymlunderarticles\walkthroughssubfolder. The content oftoc.ymlis as below:
  - name: CI/CD Publish DocFx to Github Pages with GitHub Actions
    href: docfx-github-actions.md
  - name: CI/CD Publish Nuget to GitHub Packages with GitHub Actions
    href: nuget-github-actions.md
- Update
articles\toc.ymlas below:
  - name: Getting Started
    href: gettingStarted.md
  - name: Walkthroughs
    href: walkthroughs/toc.yml
    topicHref: walkthroughs/index.md
So now our folder layout is:
  |- ...
  |- articles\
  |   |- walkthroughs\
  |   |   |- docfx-github-actions.md
  |   |   |- index.md
  |   |   |- nuget-github-actions.md
  |   |   |- toc.yml
  |   |- gettingStarted.md
  |   |- toc.yml
  |- ...
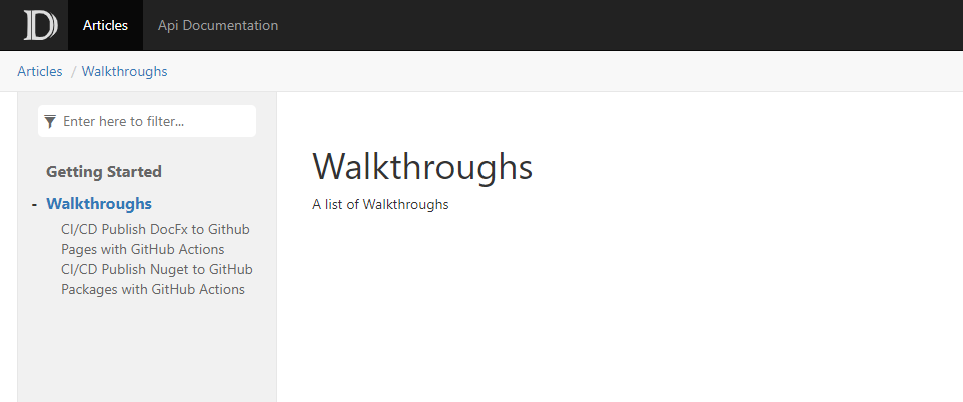
Congrats! Now if you run command .\docfx\docfx.exe docfx.json, than .\docfx\docfx.exe serve docs and navigate to http://localhost:8080/articles/walkthroughs/index.html, you can now see a page similar to:
Template
If you would like to change template, you can create your own or go to https://dotnet.github.io/docfx/templates-and-plugins/templates-dashboard.html and download the one that you like, I choosed darkFX.
- Download the theme
- Create a
templatesfolder - Copy the extracted
darkfxfolder - So now our folder layout is:
  |- C:\Dev\
  |   |- Yugen.Toolkit.Docs\
  |   |    |- templates\
  |   |    |    |- darkfx\
  |- ...
And our docfx.json file is:
  ...
    "template": [
        "default"
      ],
  ...
- Let's add our
darkfxtotemplateparameter
  ...
  "template": [
    "default",
    "templates/darkfx"
  ],
  ...
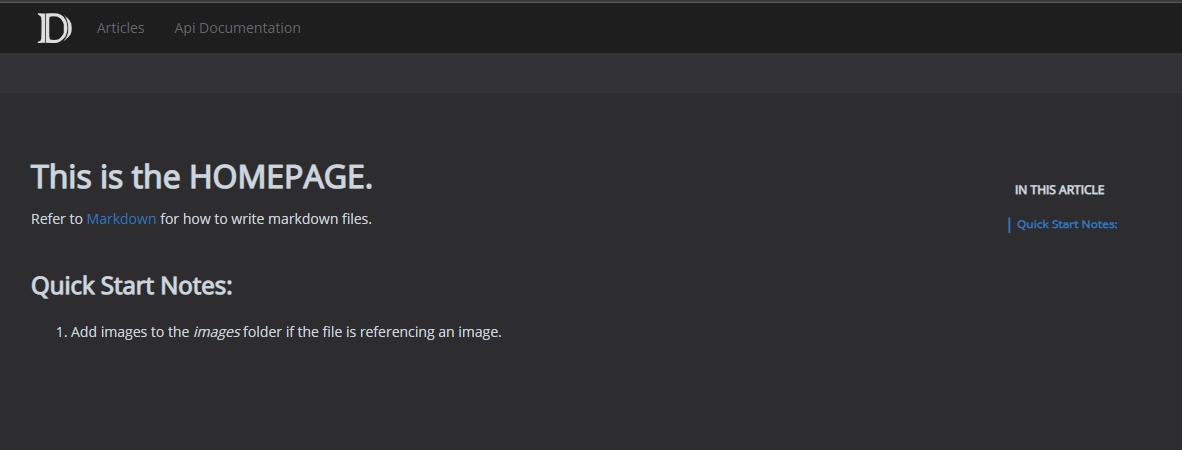
Congrats! Now if you run command .\docfx\docfx.exe docfx.json, than .\docfx\docfx.exe serve docs, you can now see a page similar to:
Customize a template
- Export template: Run
.\docfx\docfx.exe template export default, then you'll see default template in_exported_templates\default - Edit the files you want to customizem eg:
- HTML changes: modify
_exported_templates\default\partials\footer.tmpl.partialand copy the modified file totemplates\darkfx\partials\footer.tmpl.partial - CSS changes: modify
_exported_templates\default\styles\docfx.cssor_exported_templates\default\styles\main.cssand copy the modified file totemplates\darkfx\styles\main.css
Step6. Adding API Documentation to the Website
We built a website from a set of .md files. We call it Conceptual Documentation. Now we will learn to build a website from .NET source code, which is called API Documentation. We will also integrate Conceptual Documentation and API Documentation into one website so that we can navigate from Conceptual to API, or API to Conceptual seamlessly.
So now our folder layout is:
  |- ...
  |- articles\
  |   |- walkthroughs\
  |   |   |- docfx-github-actions.md
  |   |   |- nuget-github-actions.md
  |   |   |- toc.yml
  |   |- gettingStarted.md
  |   |- toc.yml
  |- images\
  |    |- details1_image.png
  |- api\
  |    |- .gitignore
  |    |- index.md
  |    |- toc.yml
  |- ...
And our docfx.json file is:
  "metadata": [
    {
      "src": [
        {
          "files": [
            "src/**.csproj"
          ]
        }
      ],
      "dest": "api",
      "disableGitFeatures": false,
      "disableDefaultFilter": false
    }
  ],
  ...
- Add a C# project
By default DocFX use the src folder to generate documentation from the code, but we're going to use C:\Dev\Yugen.Toolkit\, to do this we need to make some changes in the docfx.json file. In this example we're going to generate metadata for Yugen.Toolkit.Uwp.Controls project, to do this we're going to change the follwing parameters:
- Change
filesfromsrc/**.csprojtoYugen.Toolkit.Uwp.Controls/**.csproj - Add to
excludethe following folders**/obj/**,**/bin/**,docs/** - Add a
srcparameter tosrcwith our solution folder../Yugen.Toolkit. - Add to
propertiesourTargetFrameworks:netstandard2.0 - Change
destfromapitometadata/uwp.controls(this is a personal preference) - So now our
docfx.jsonfile is:
  "metadata": [
    {
      "src": [
        {
          "files": [
            "Yugen.Toolkit.Uwp.Controls/**.csproj"
          ],
          "exclude": [
            "**/obj/**",
            "**/bin/**",
            "docs/**"
          ],
          "src": "../Yugen.Toolkit"
        }
      ],
      "properties": {
        "TargetFrameworks": "netstandard2.0"
      },
      "dest": "metadata/uwp.controls",
      "disableGitFeatures": false,
      "disableDefaultFilter": false
    }
  ],
  ...
If you followed step 5, and like me prefer to generate project metadata to a spcific folder
- rename our
apifolder tometadata. - Create a
uwp.controlsfolder inmetadata - Move
index.mdandtoc.ymltouwp.controls - So now our folder layout is:
  |- ...
  |- articles\
  |   |- walkthroughs\
  |   |   |- docfx-github-actions.md
  |   |   |- nuget-github-actions.md
  |   |   |- toc.yml
  |   |- gettingStarted.md
  |   |- toc.yml
  |- images\
  |    |- details1_image.png
  |- metadata\
  |    |- .gitignore
  |    |- uwp.controls\
  |    |    |- index.md
  |    |    |- toc.yml
  |- ...
- We need to change the our
docfx.jsonthat now looks like this:
  ...
 "content": [
    {
      "files": [
        "api/**.yml",
        "api/index.md"
      ]
    },
    {
      "files": [
        "articles/**.md",
        "articles/**/toc.yml",
        "toc.yml",
        "*.md"
      ]
    }
  ],
  ...
to this
  ...
  "content": [
  {
    "files": [
      "metadata/uwp.controls/*.yml",
      "metadata/uwp.controls/index.md"
    ]
  },
  {
    "files": [
      "articles/**.md",
      "articles/**/toc.yml",
      "toc.yml",
      "*.md"
    ]
  }
  ],
  ...
- Now we need to fix the top nvaigation menu, change
C:\Dev\Yugen.Toolkit.Docs\toc.ymlfrom this
  - name: Articles
    href: articles/
  - name: Api Documentation
    href: api/
    homepage: api/index.md
to this
  - name: Articles
    href: articles/
  - name: Uwp.Controls
    href: metadata/uwp.controls/
    homepage: metadata/uwp.controls/index.md
Step7. Generate metadata for the C# project,
Run .\docfx\docfx.exe metadata
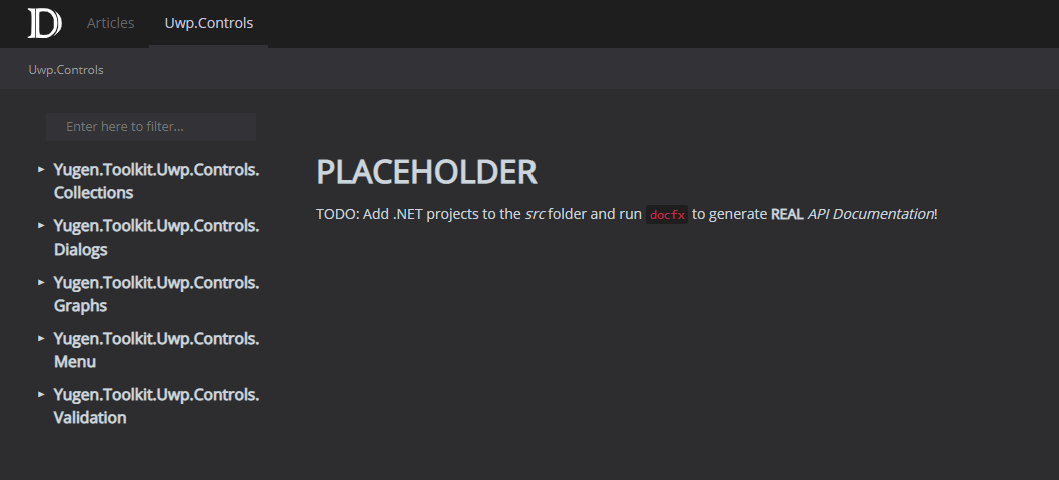
Congrats! Now if you run command .\docfx\docfx.exe docfx.json, than .\docfx\docfx.exe serve docs, you can now see a page similar to:
Step8. Overwrite Files
DocFX introduces the concept of Overwrite File to modify or add properties to Models without changing the input Conceptual Files and Metadata Files.
Overwrite Files are Markdown files with multiple Overwrite Sections starting with YAML header block. A valid YAML header for an Overwrite Section MUST take the form of valid YAML set between triple-dashed lines and start with property uid.
For the sake of clarity I rename the apidoc folder to ovewrite and create a uwp.controls folder inside. Here is a basic example of an Overwrite file C:\Dev\Yugen.Toolkit.Docs\overwrite\uwp.controls\Yugen.Toolkit.Uwp.Controls.Collections.md:
---
uid: Yugen.Toolkit.Uwp.Controls.Collections
---
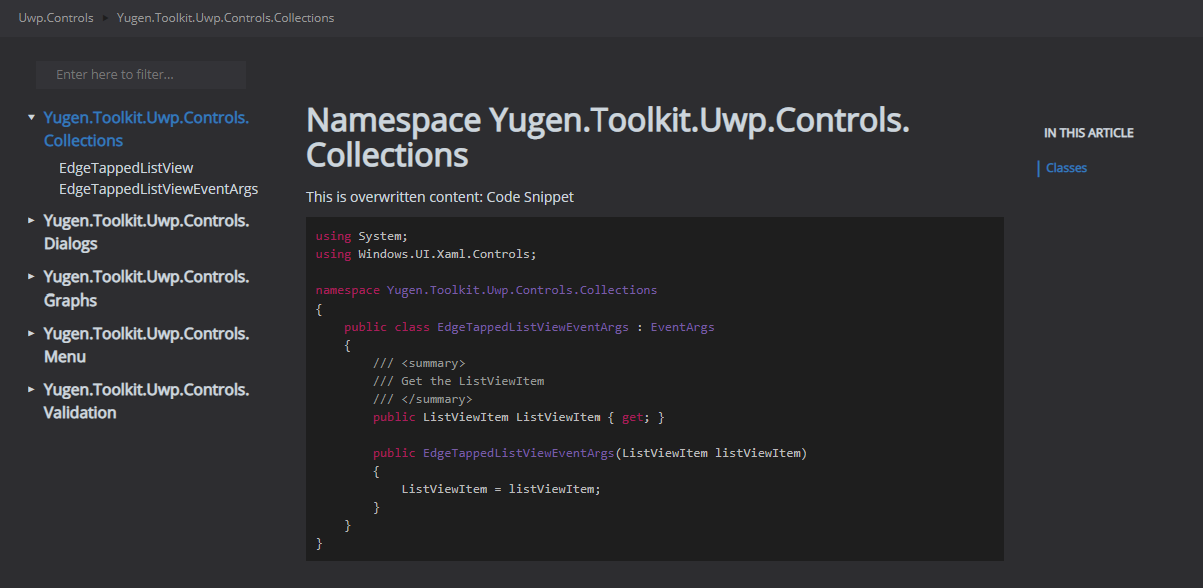
This is overwritten content: Code Snippet
[!code-csharp[EdgeTappedListViewEventArgs](../../../Yugen.Toolkit/Yugen.Toolkit.Uwp.Controls/Collections/EdgeTappedListViewEventArgs.cs)]
this files is going to include a code snippet EdgeTappedListViewEventArgs.cs in the Yugen.Toolkit.Uwp.Controls.Collections page
So now our folder layout is:
  |- ...
  |- ovewrite\
  |    |- uwp.controls\
  |    |    |- Yugen.Toolkit.Uwp.Controls.Collections.md
  |- ...
uid for an Overwrite Model stands for the Unique IDentifier of the Model it will overwrite. So it is allowed to have multiple Overwrite Sections with YAML Header containing the same uid. For one Overwrite File, the latter Overwrite Section overwrites the former one with the same uid. For different Overwrite Files, the order of overwrite is Undetermined. So it is suggested to have Overwrite Sections with the same uid in the same Overwrite File.
Apply Overwrite Files
Inside docfx.json, overwrite is used to specify the Overwrite Files. We need to change the our docfx.json that now looks like this:
...
  "overwrite": [
      {
        "files": [
          "apidoc/**.md"
        ],
        "exclude": [
          "obj/**",
          "_site/**"
        ]
      }
    ]
...
to this
...
    "overwrite": [
    {
      "files": [
        "overwrite/**.md"
      ],
      "exclude": [
        "obj/**",
        "docs/**"
      ]
    }
  ],
...
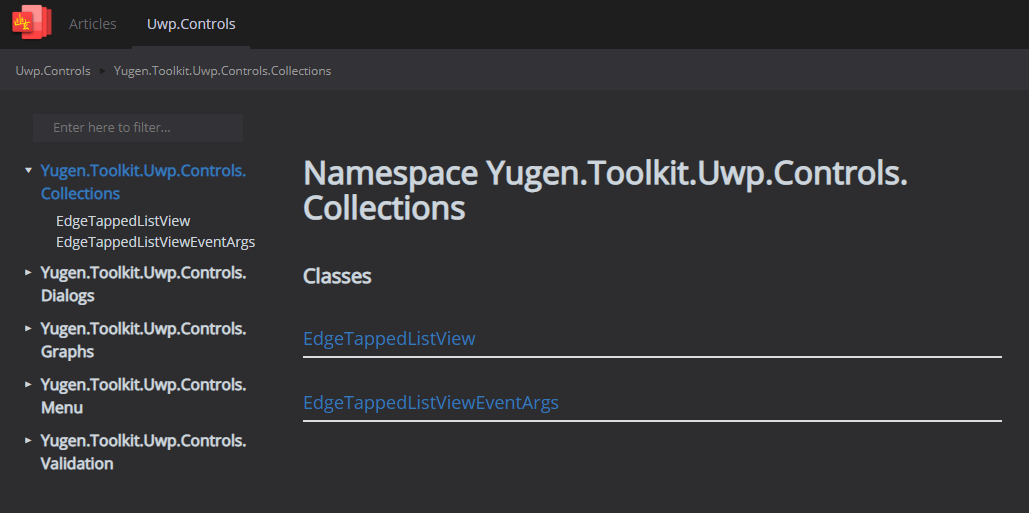
Now the page http://localhost:8080/metadata/uwp.controls/Yugen.Toolkit.Uwp.Controls.Collections.html looks like this:
But if you run command .\docfx\docfx.exe docfx.json, than .\docfx\docfx.exe serve docs, you can now see a page similar to:
That's all folks!
For further details refer to (https://dotnet.github.io/docfx/index.html) Don't forget to check the rest of walktroughs for CI/CD implementation